Videos, sound and video captions
70% of people have the sound off when looking at Facebook, Twitter, Instagram, LinkedIn etc. They’re at work, or traveling or are just sick of ads that are just noise.. A photo can convey more than text and videos can convey way more than a photo. If you want people to watch for more than a second or two then captions are now a necessity. When you present text in a video, people will start reading and so will watch longer.
Captions are really good for those that are visually impaired so you should be captioning videos anyway. Search engines probably pick up the text too so it will help your ranking.
Facebook now rewards content that is video or live video so a way to get more reach for your content is attach a video to it. Twitter allows uploading of video but while it allows you to add subtitles it doesn’t allow them to be turned on by default. LinkedIn allows direct upload of videos and the uploading of captions with them. Instagram video ads allow you to upload videos and add captions but organic Instagram does not, for now.
Facebook Video Caption
As well as giving preference in the timeline to video, people watching a video for more than 3 seconds is classed as an engagement and Facebook will make your updates a priority in the timeline of those that engage with you. (Like, comment, share, link click, 3+ second video view)
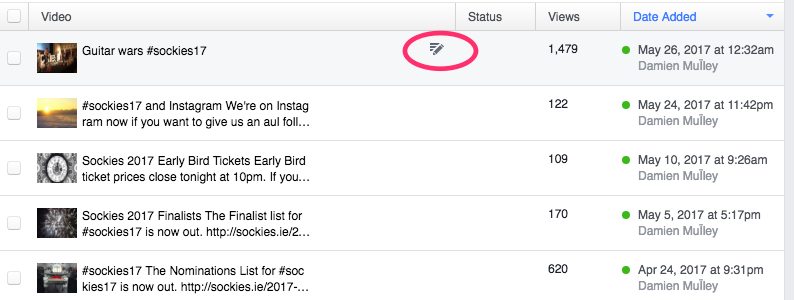
To add captions go to Videos, Video Library on your page.
(Note your Page has to have 100+ likes, switch to English (US) as your language)

From there, choose you video, hover over it and click that Edit Icon
In the editing menu, go to Captions | Generate
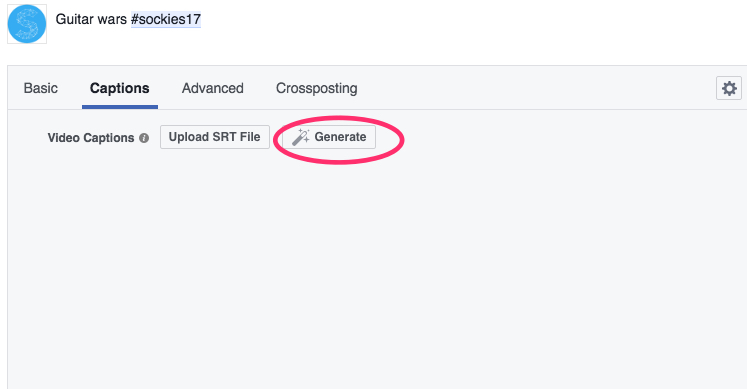

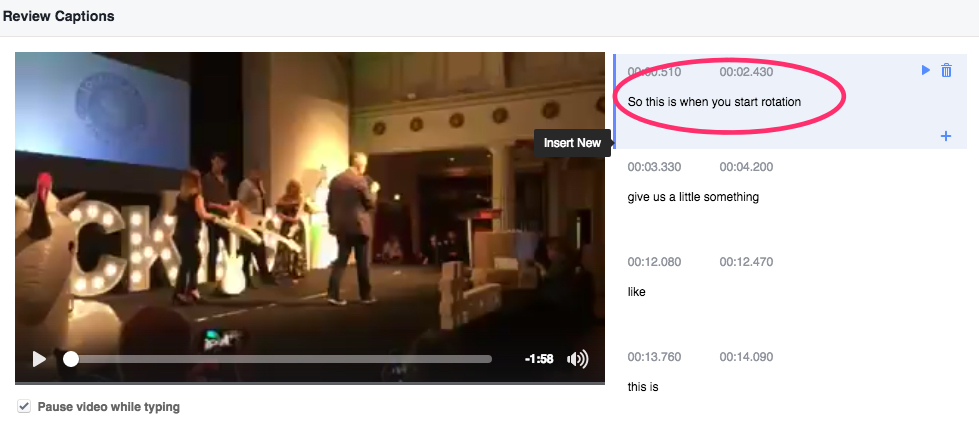
Facebook actually auto-generates captions based on the audio track in the video. So if there already is someone talking it makes an attempt at the captions. They are generally terrible and a mess. You can instead delete or edit them. You can also change the time on screen. I find 2 seconds with a half second gap between captions works well.
You can also download your video as an MP4 and your captions as a .srt file from YouTube and upload them to Facebook. Make sure that the .srt filename though is Filename.en_US.srt
YouTube Video Captions
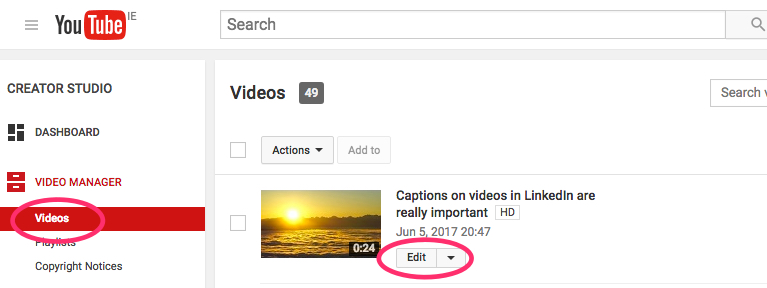
Adding captions to YouTube videos is easy. Go to your account, Video Manager | Videos and click Editnext to the video you want to add captions to.
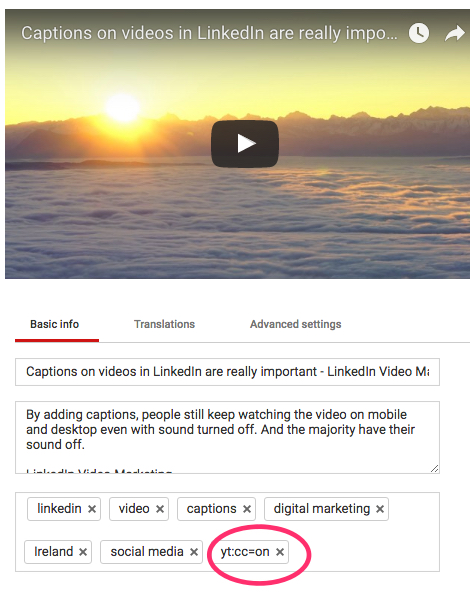
Before you go and add captions, you need to add a tag to your video that will make the captions appear automatically for people instead of them having to go into their account and enable them.
Under Basic Info add “yt:cc=on” as a tag
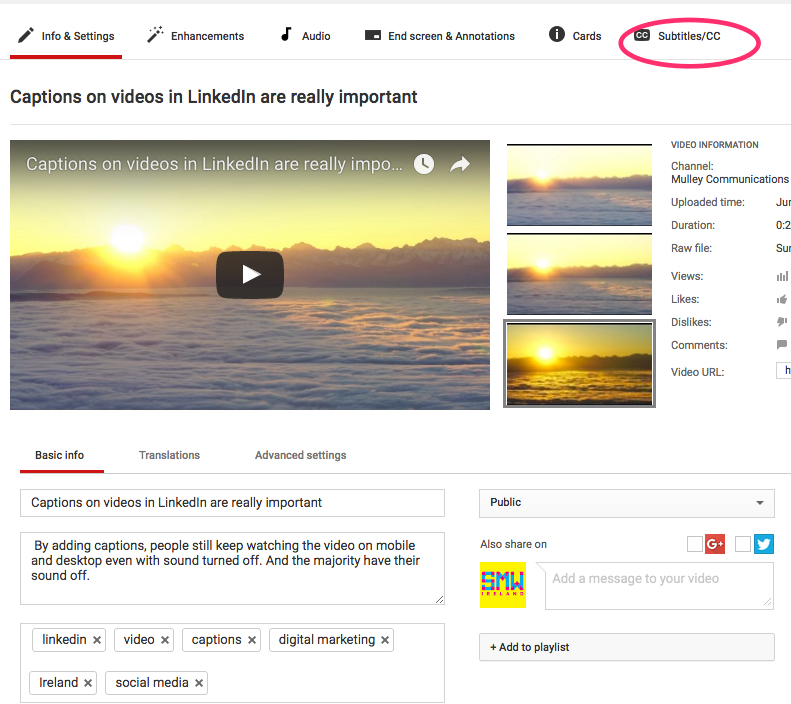
In the Edit section, choose Subtitles/CC
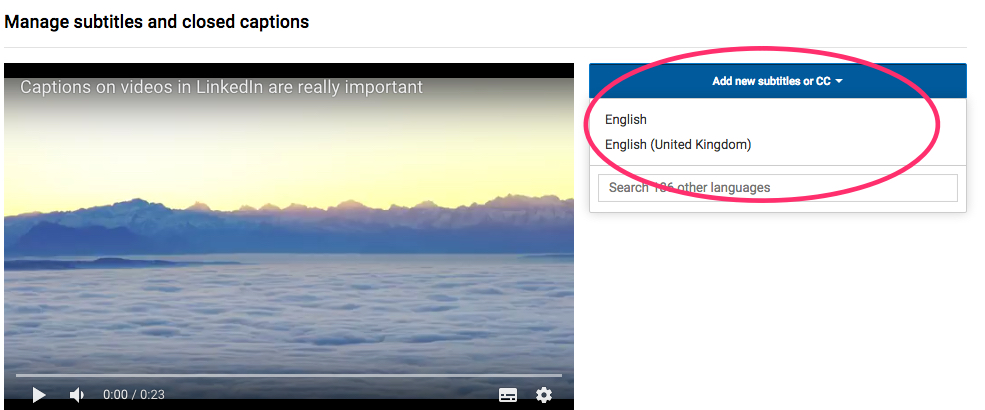
Under Manage Subtitles, choose Add new subtitles or CC and choose what language the subtitles will be in. Note: You can actually have multiple language options here.
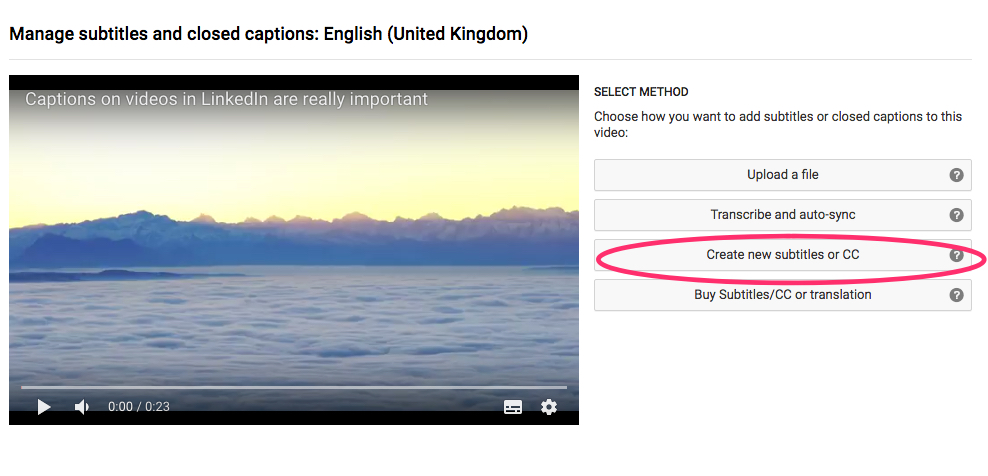
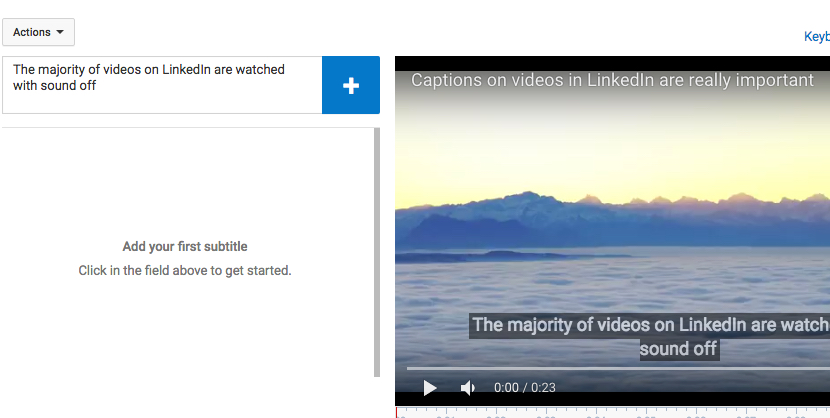
From there choose Create new subtitles or CC
Start writing the captions on the left of the video. Once your fill in the first caption. You can then choose the timestamps.
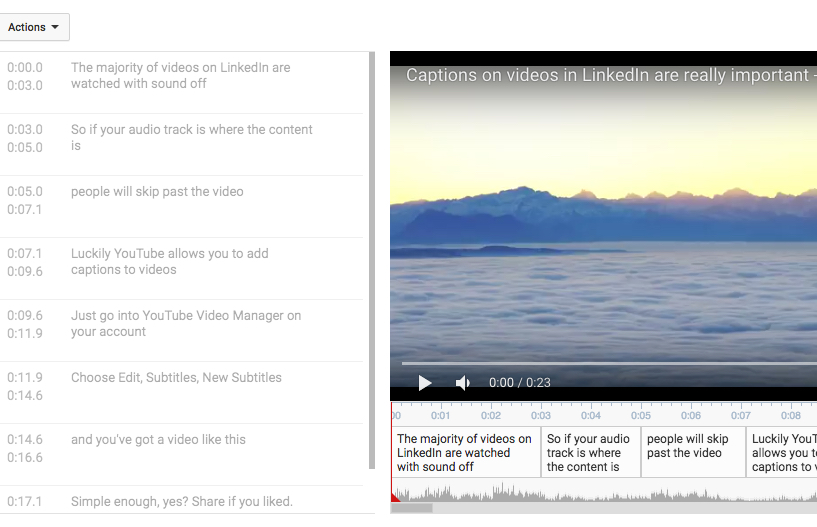
You can then see all the captions that we’ve added below. Any of these can be edited at any time. I find 2 seconds with a half second gap between captions works well.
Downloading your video
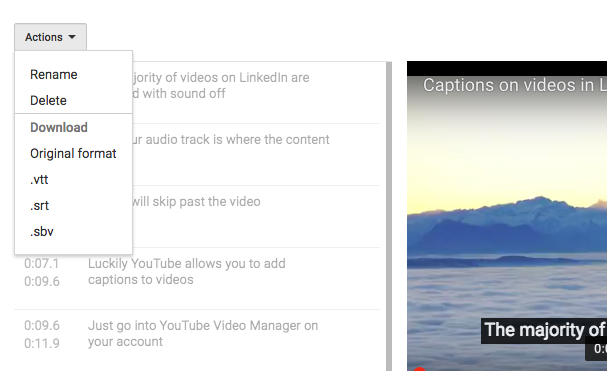
YouTube is great in that it allows you to download the video you’ve uploaded as well as the captions. The video and captions are in different files. .mp4 for the video and .srt for the captions. This means you can upload these to another space, like Facebook.
LinkedIn Video Captions
>LinkedIn has made adding captions really easy.
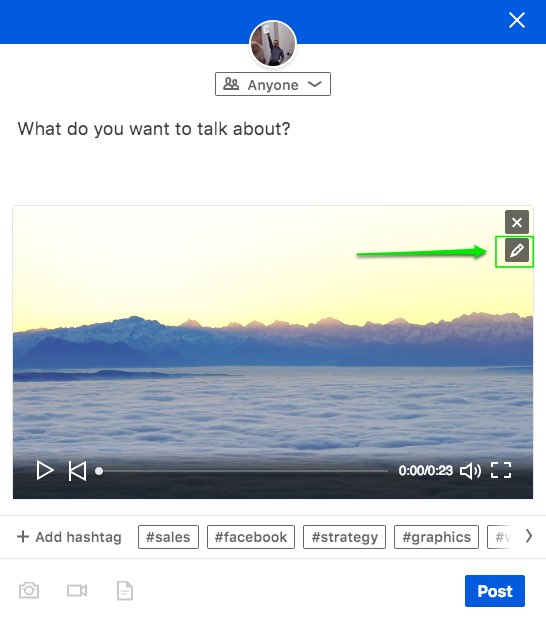
- At the top of your timeline choose the Video icon
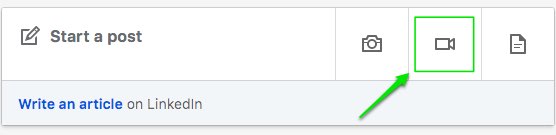
- Choose a video from your local drive and upload it, you’ll get something like this. Click the pencil icon/Edit option
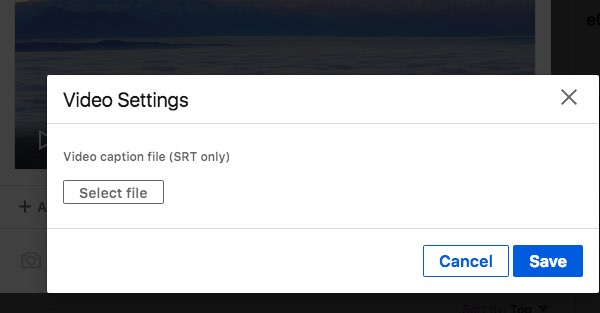
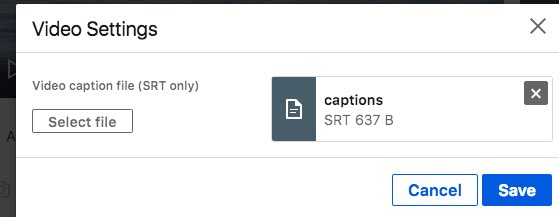
- Now it will ask you to upload a .SRT file (Subtitle title file)
- Choose Save. Go back to your post and add hashtags and add a some text to it and press Post. It will tell you it is processing the video and it will upload shortly.
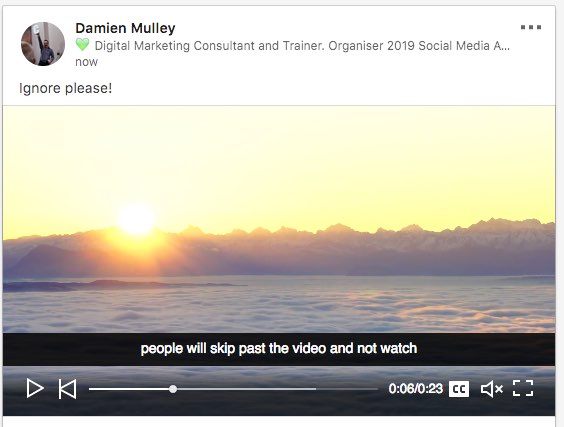
And the result:
Instagram Video Captions
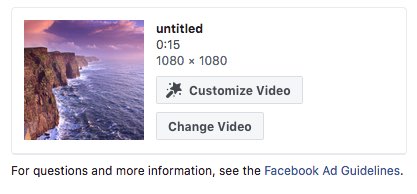
When you upload a video to Instagram it doesn’t allow you to edit captions or upload your own, sadly. If you use a Video for an ad, you can add captions however. If you go into your ad where your video is attached, click on Customize Video
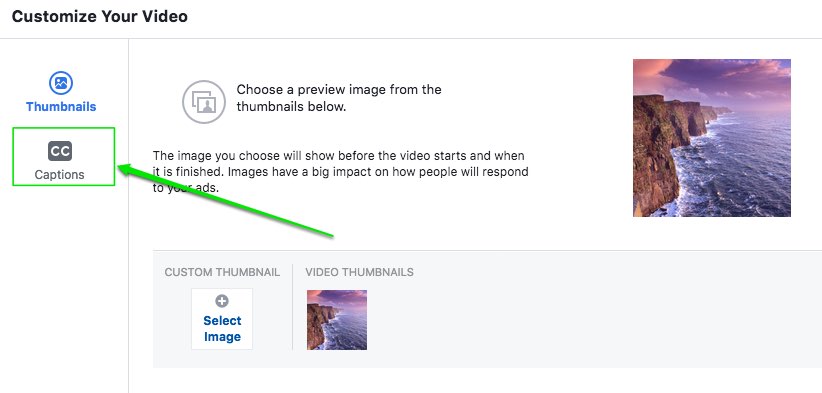
Then choose Captions
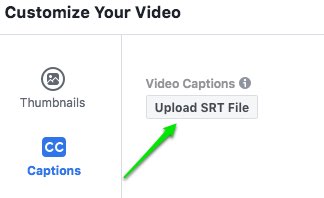
Click on Upload SRT File
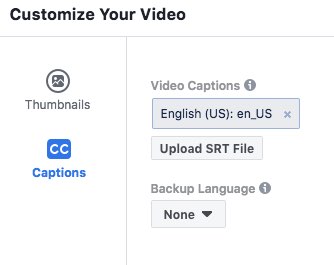
Facebook/Instagram are a bit weird about SRT files. The SRT has to be named Filename.en_US.srt e.g. Something.en_US.srt
Once uploaded, select Done.
Hopefully in time you can upload SRT files into regular Instagram too.
Appendix:
Example of a .SRT file that you can copy and paste into Notepad or Textedit and save as a .srt but for Instagram/Facebook it has to be .en_US.srt
Note each subtitle needs to have a number and the timestamp here is in hours, minutes, seconds and milliseconds so the first subtitle goes from second 0 to 2 seconds 100 milliseconds
1
00:00:00,000 –> 00:00:02,100
This is the first line
2
00:00:02,200 –> 00:00:04,900
And the next
2
00:00:05,166 –> 00:00:08,233
And the next
3
00:00:08,466 –> 00:00:12,400
And the last one